DIY Tile Installation: Step-by-Step Guide for Beginners


Introduction to DIY Tile Installation
Embarking on a DIY tile installation project can be a rewarding experience. Whether you're refreshing your kitchen backsplash or transforming your bathroom floor, laying tile yourself can save money and give your home a personal touch. This step-by-step guide will walk you through the basics of tile installation, ensuring your project is a success.

Gathering Your Materials
Before you begin, you'll need to gather the necessary materials and tools. Essential items include tiles, tile adhesive, a notched trowel, tile spacers, a tile cutter, grout, a grout float, and a sponge. It's also wise to have safety gear such as gloves and goggles. Make sure you have enough tiles to cover your space, as well as some extras for any mistakes or future repairs.
Choosing the Right Tile
Selecting the right tile is crucial for both aesthetics and functionality. Consider factors like the room's purpose, foot traffic, and your personal style. Ceramic and porcelain tiles are popular choices for their durability and water resistance, while natural stone offers a unique, luxurious look.
Preparing the Surface
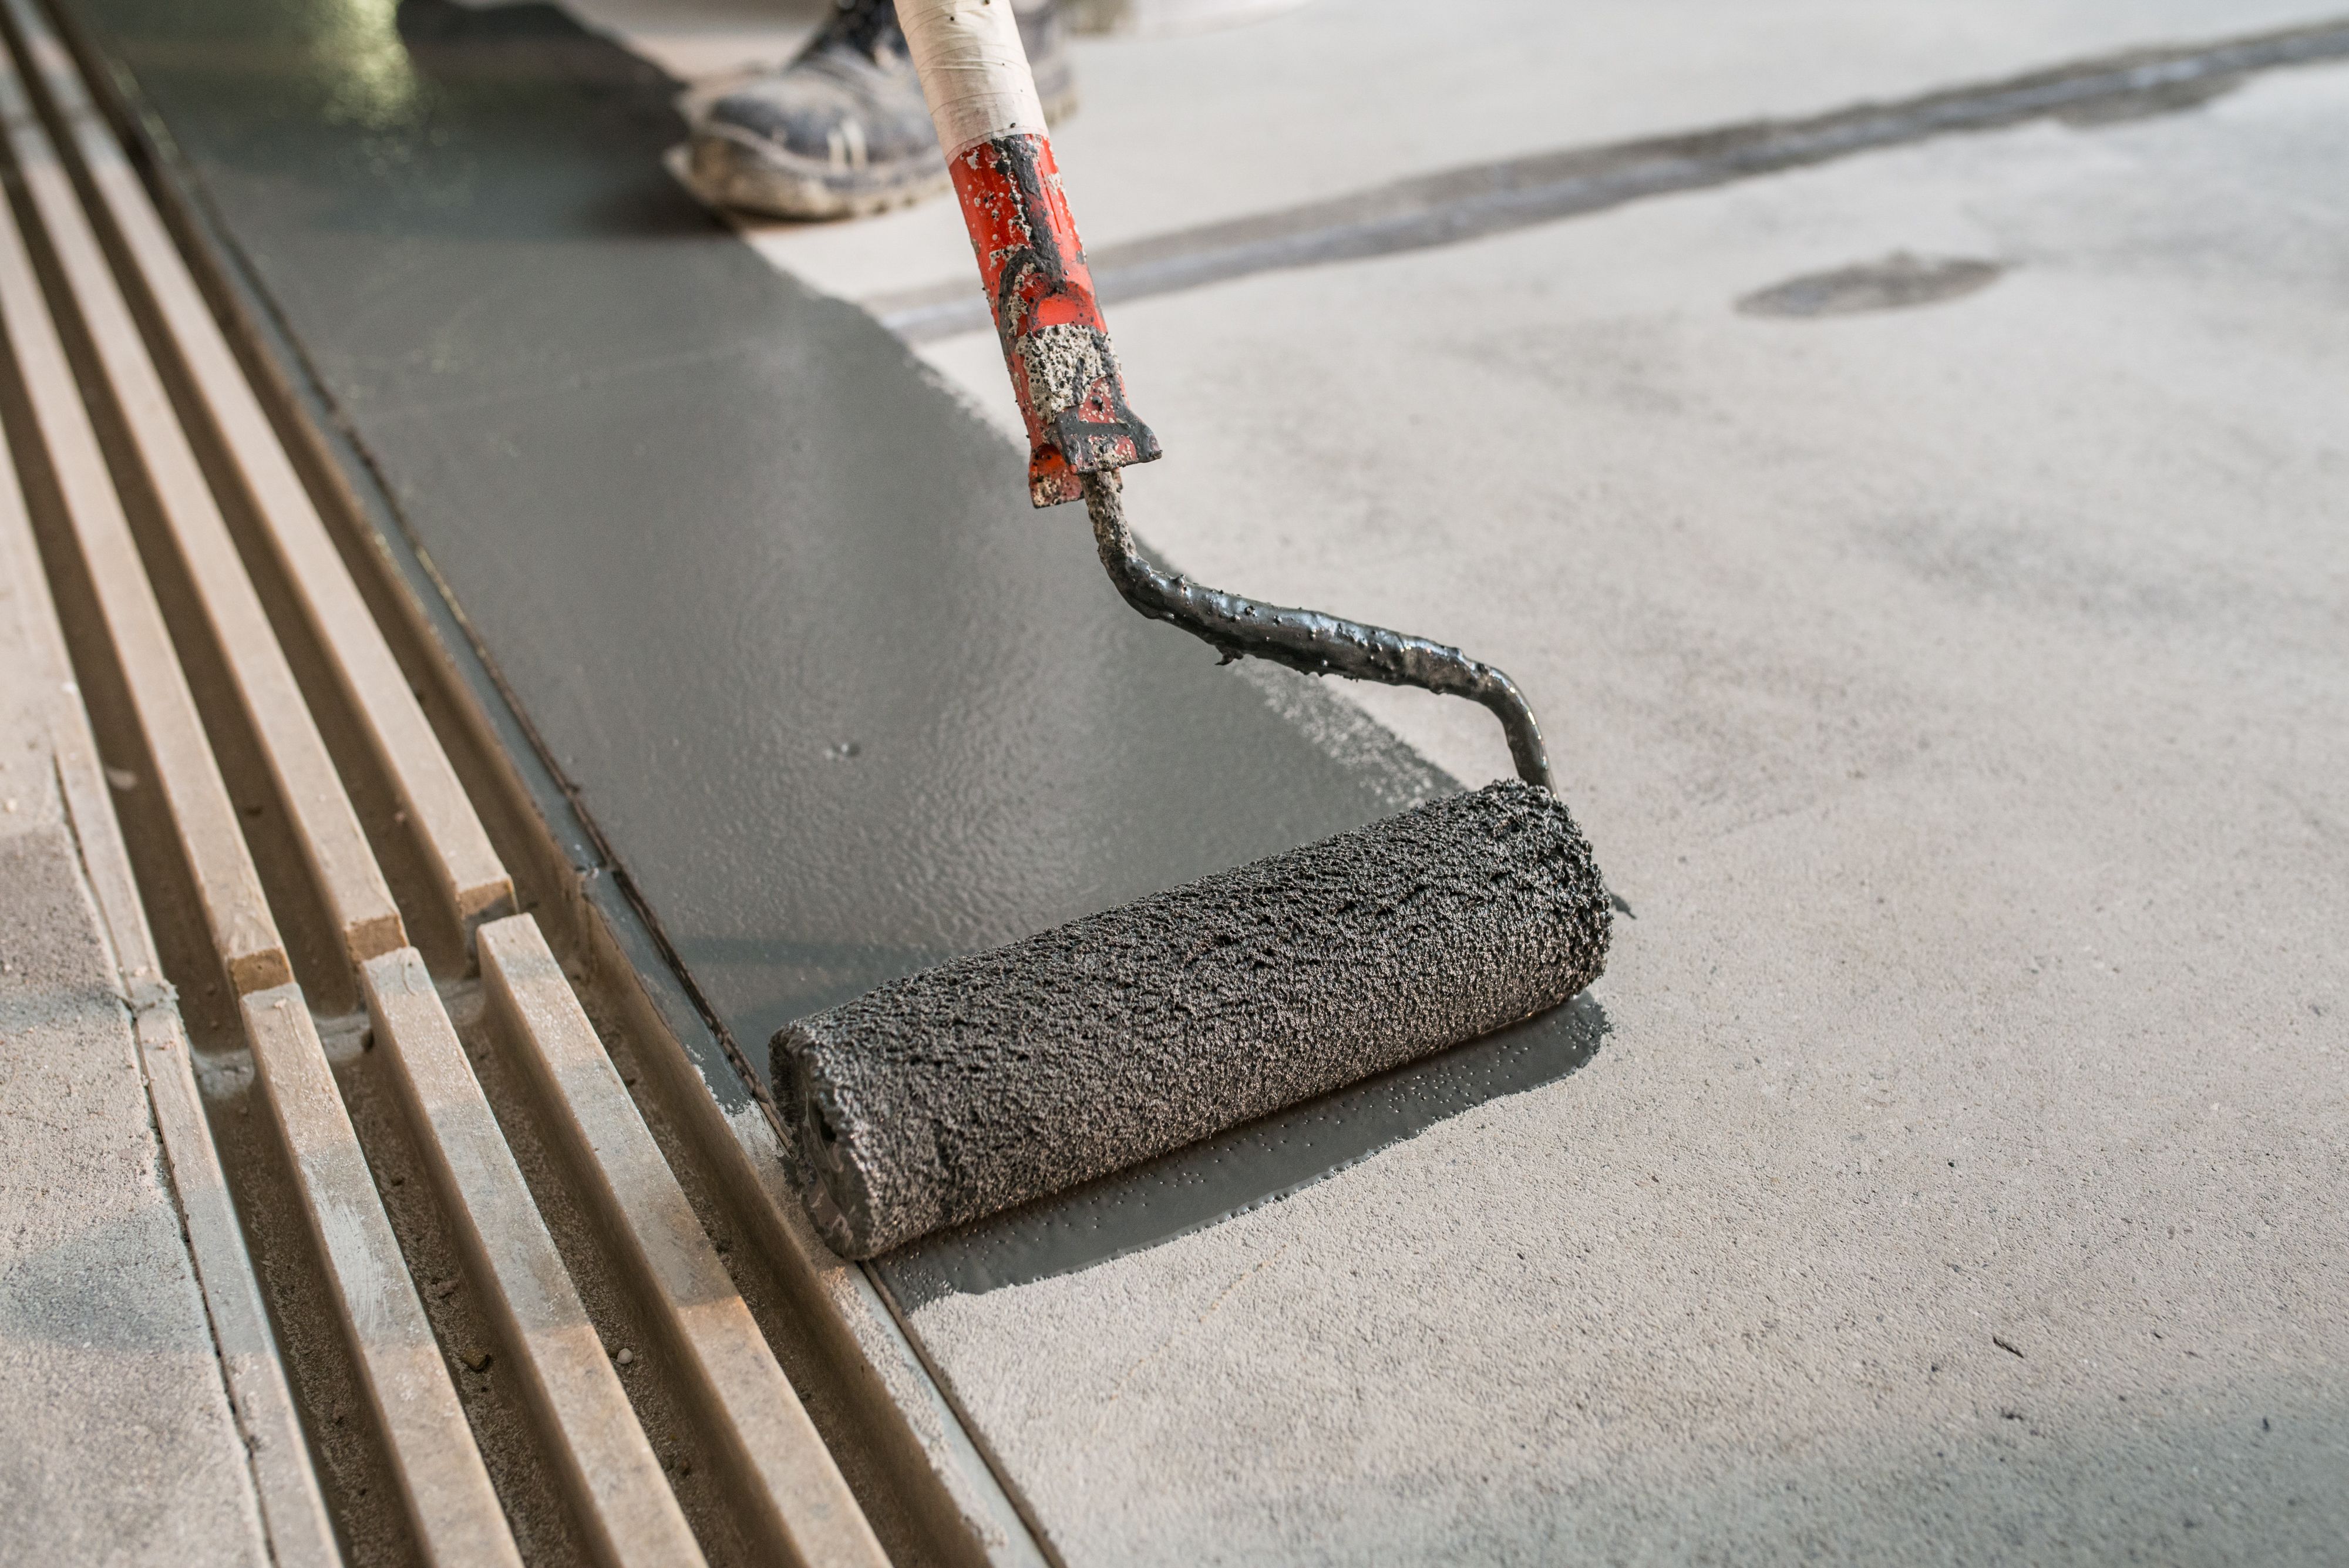
The key to a successful tile installation is proper surface preparation. Start by ensuring the surface is clean, dry, and level. Remove any old tiles, adhesive, or debris. If you're working on a wall or floor that is not level, you may need to apply a leveling compound. This step is crucial to prevent future cracking or shifting of tiles.
Laying Out Your Tiles
Before applying any adhesive, lay out your tiles to determine the best arrangement. This process helps you visualize the final look and adjust for any cuts that need to be made. Use tile spacers to maintain even spacing, allowing room for grout. Mark any tiles that require cutting with a pencil.
Applying Adhesive
Once you're satisfied with your layout, it's time to apply the adhesive. Use a notched trowel to spread the adhesive onto the surface in small sections. This approach prevents the adhesive from drying out before the tiles are placed. Press each tile firmly into the adhesive, using spacers to maintain even gaps.
Cutting and Fitting Tiles
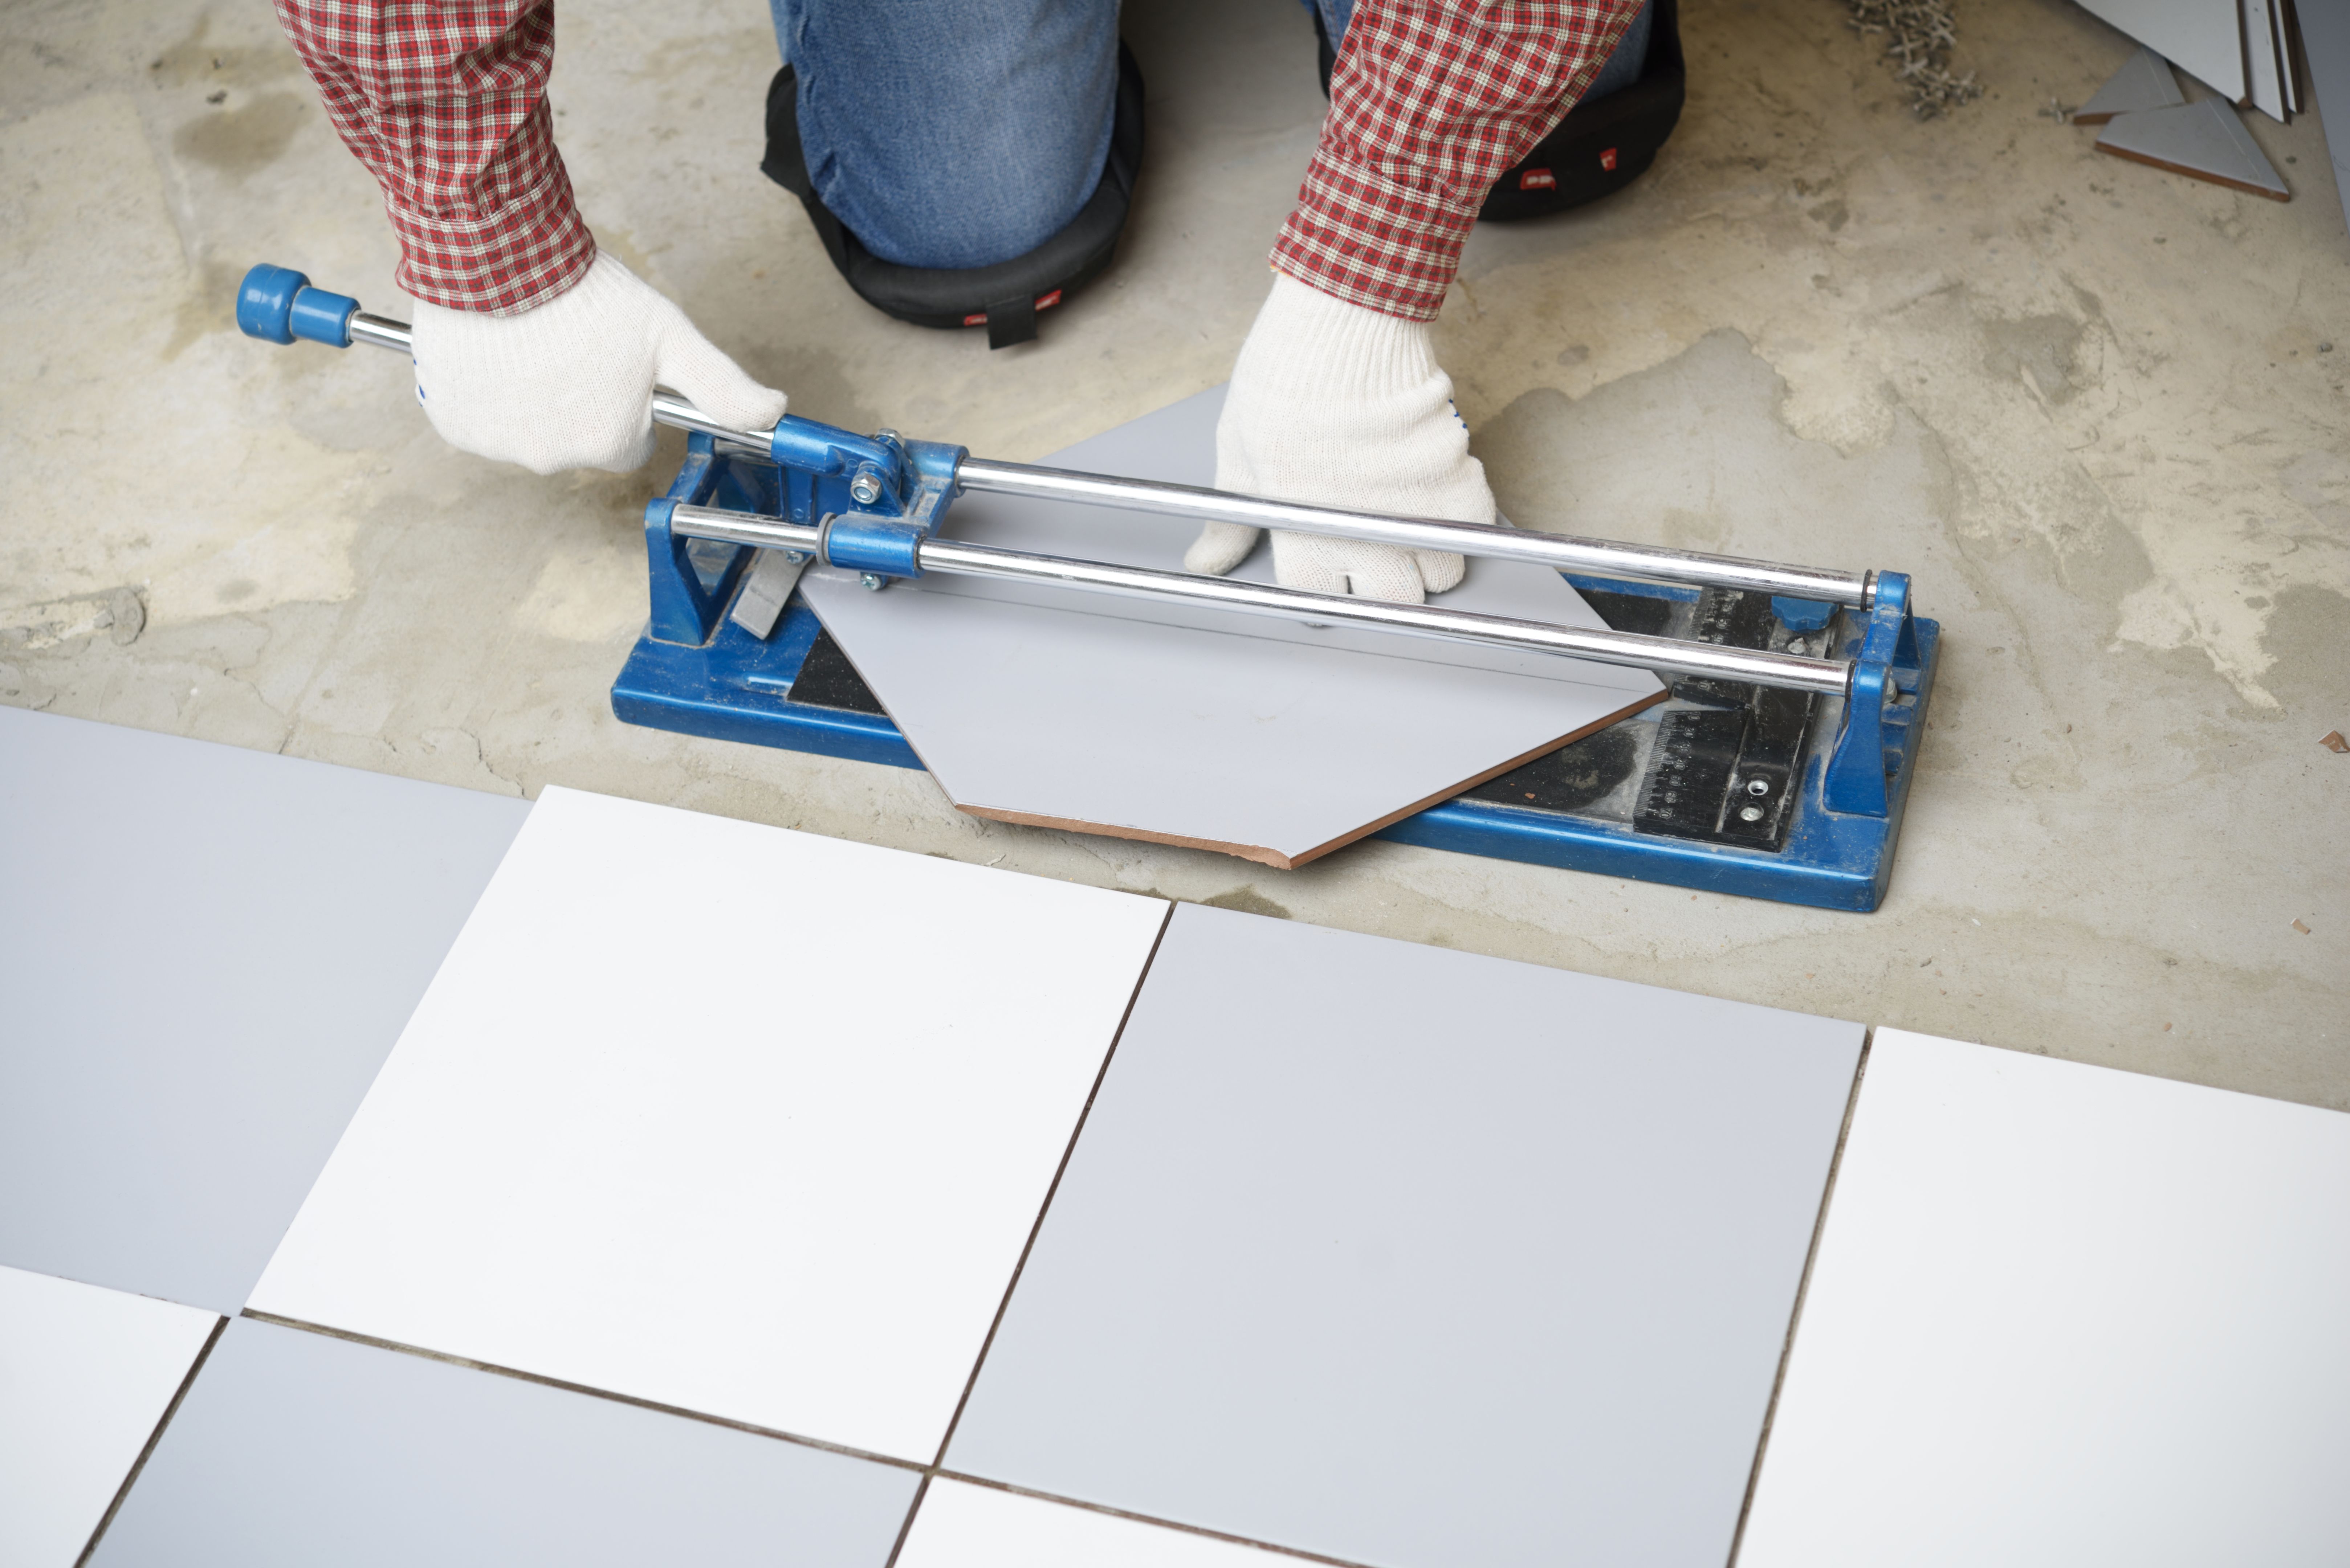
Cutting tiles may seem daunting, but with the right tools, it can be straightforward. A manual tile cutter works well for straight cuts, while a wet saw is ideal for intricate shapes. Always wear safety gear when cutting tiles to prevent injuries from flying shards.
Grouting Your Tiles
After allowing the adhesive to dry for the recommended time, typically 24 hours, you can begin grouting. Mix the grout according to the manufacturer's instructions and apply it using a grout float. Work in small areas, pressing the grout into the gaps between tiles. Remove excess grout with a damp sponge before it hardens.
Finishing Touches
Once the grout has cured, usually after 24-48 hours, polish your tiles with a clean cloth to remove any haze left by the grout. Seal natural stone tiles if necessary to protect them from stains and moisture. Finally, remove any remaining spacers and check your work for any imperfections or areas needing touch-ups.
Conclusion: Enjoy Your New Space
Congratulations on completing your DIY tile installation! With patience and attention to detail, you've transformed your space with beautiful new tiles. Enjoy the satisfaction of knowing you accomplished this project on your own and relish in the fresh look of your home.