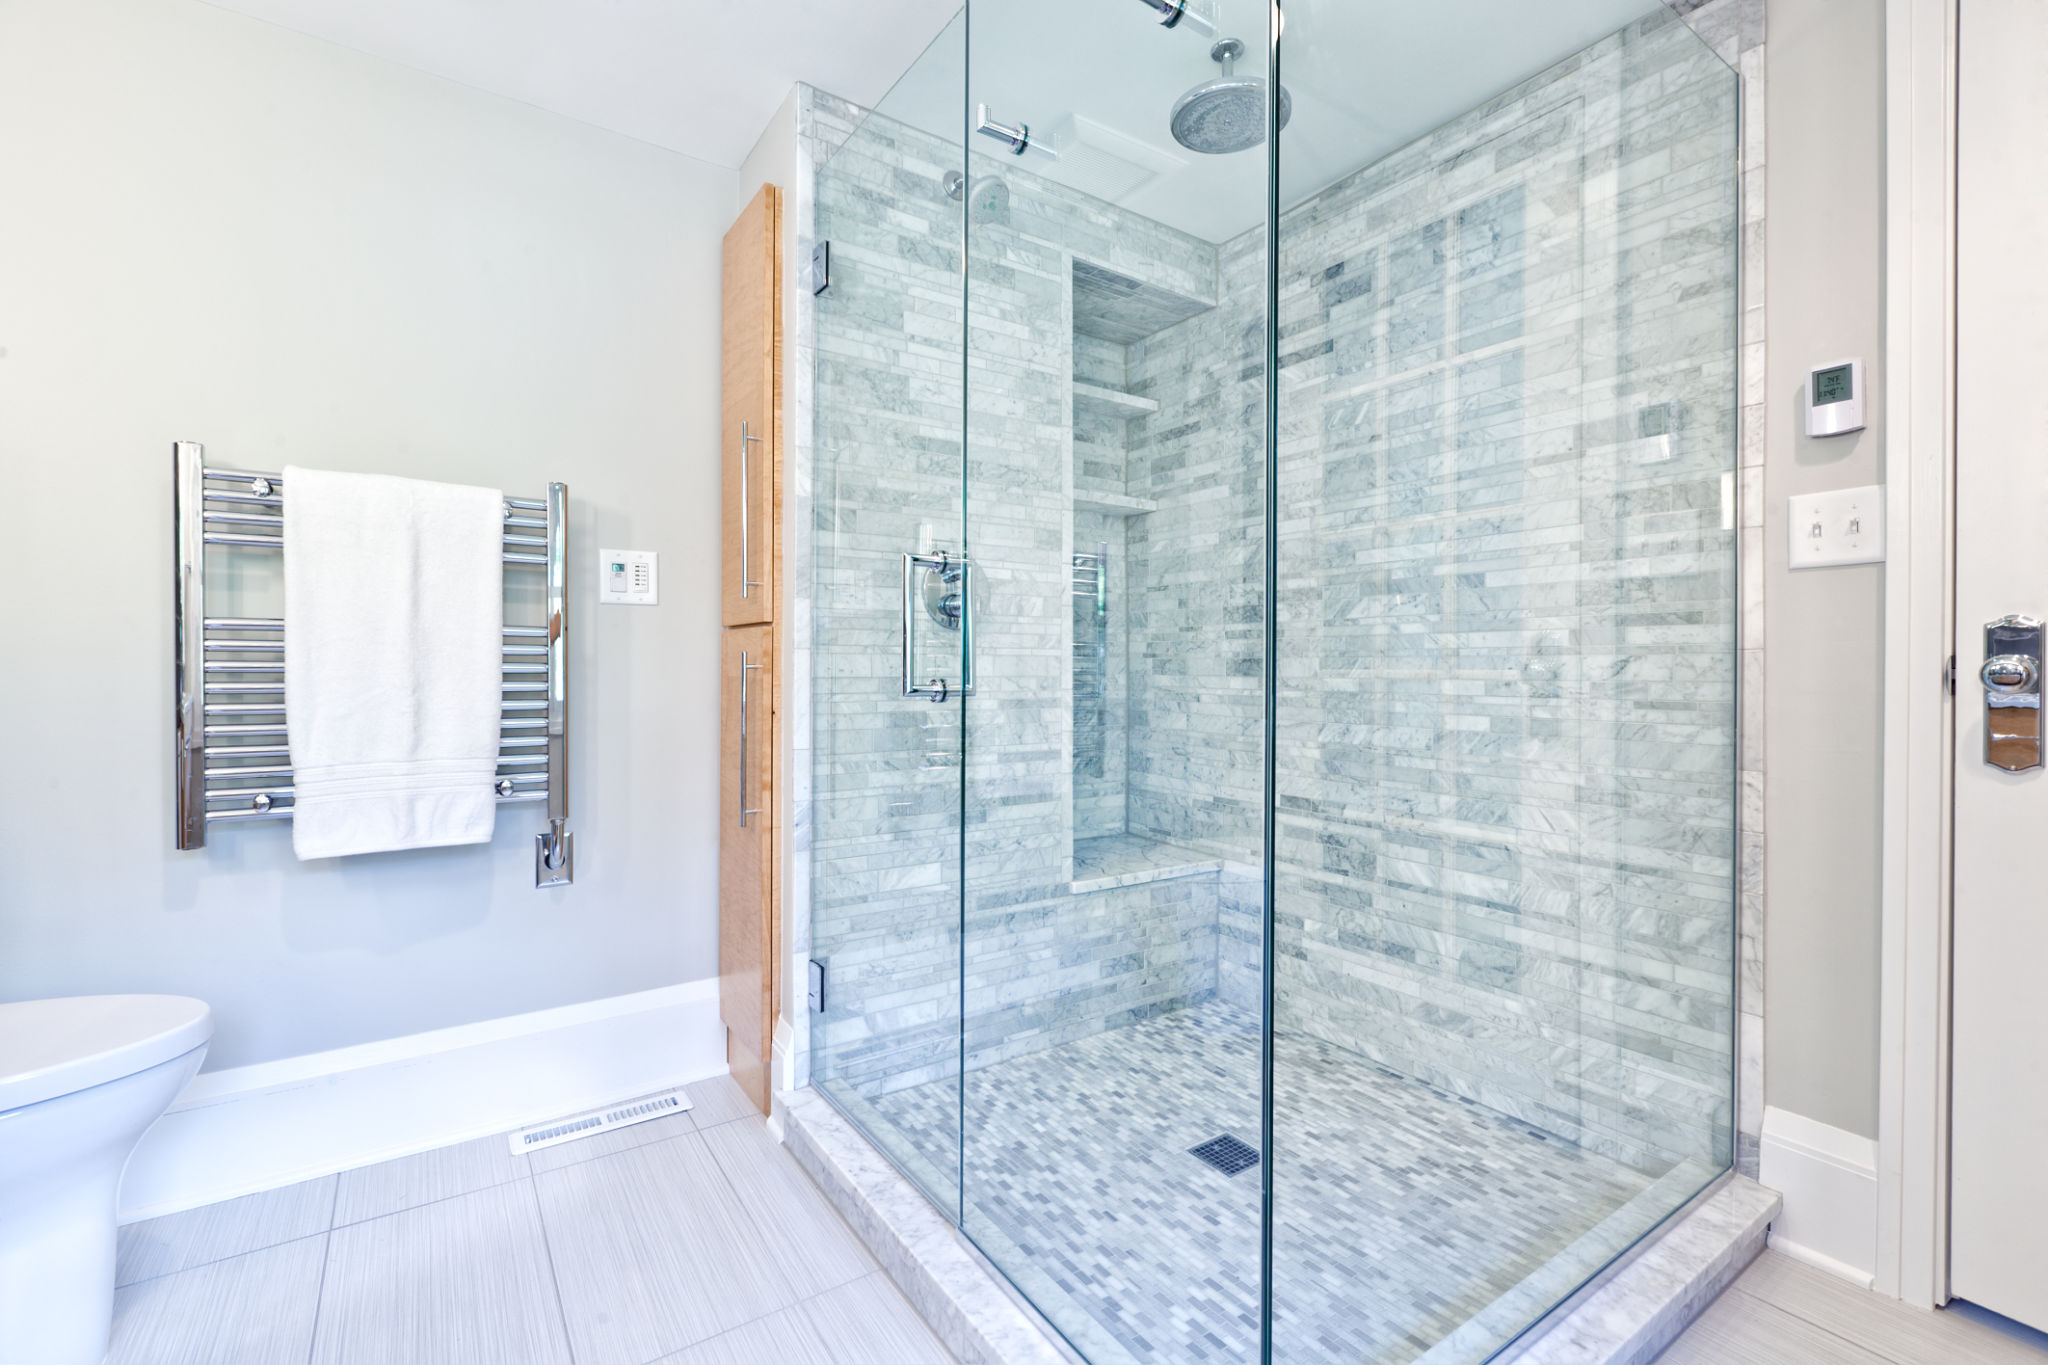
How to Install a Full Tile Walk-In Shower: A Step-by-Step Guide
Preparation and Planning
Installing a full tile walk-in shower can transform your bathroom into a luxurious spa-like retreat. Before you start, it’s crucial to plan thoroughly. Measure your space accurately and decide on the layout of tiles. Choose tiles that are both aesthetically pleasing and slip-resistant for safety.
Gather all necessary tools and materials before beginning. You will need items such as a trowel, tile cutter, waterproof membrane, grout, and of course, the tiles themselves. Having everything ready will make the process smoother and more efficient.

Demolition and Surface Preparation
The first step in the installation process is to remove any existing fixtures and tiles. Ensure that the area is clean and free from debris. This might require demolishing parts of the old shower or removing the previous tile work entirely.
Once the old materials are cleared away, inspect the surfaces for any damages or irregularities. Repair any issues before moving on to ensure a flat and stable surface for your new tiles. Applying a waterproof membrane is essential to prevent moisture from seeping through the walls, which could lead to mold growth.
Setting Up the Base
Creating a sturdy base is crucial for the longevity of your walk-in shower. Start by installing a sloped mortar bed to direct water towards the drain. Ensure that the slope is even and correctly angled to avoid water pooling.
Next, install a waterproof liner over the mortar bed. This liner acts as an additional layer of protection against water damage. Secure it tightly around the drain area to prevent leaks. Once the liner is in place, apply another layer of mortar to create a smooth surface for tiling.
Tile Installation
Now it’s time for the exciting part—laying the tiles. Begin with the walls, starting from the bottom and working your way up. Use a trowel to apply thin-set mortar to the wall surface, then press each tile firmly into place.
Ensure that each tile is level and aligned properly. Use spacers between tiles to maintain consistent gaps for grout lines. Cut tiles as needed to fit around fixtures or edges using a tile cutter.

Grouting and Finishing Touches
Once all tiles are set and the mortar has cured, remove the spacers and prepare to grout. Mix grout according to package instructions and use a rubber float to apply it over the tiles, pressing it into the spaces between them.
After applying grout, wipe away excess with a damp sponge before it hardens. Be careful not to disturb the grout lines. Once everything is dry, apply a grout sealer to enhance durability and prevent stains.
Final Steps and Maintenance
Install any remaining fixtures such as showerheads or shelves once the grout has fully cured. Conduct a thorough inspection to ensure everything is watertight and functioning properly.
To maintain your new walk-in shower, regularly clean the tiles and grout lines with appropriate cleaning products. This will help keep your shower looking pristine and extend its lifespan.

